DIY PAINT DIPPED CHAIRS – THE RESTORERS

There’s no better feeling than restoring a piece of furniture and transforming it aesthetically to give it a whole new lease of life. If you’ve got an older piece of furniture at home that’s looking a bit tired or in need of a makeover, then why not get inspired and Team Up with Ozito this Easter weekend to change it for the better.
Maybe you’ve got an old chair lying around; they might be in your kid’s room, or even at your dining table. Giving it a whole new look is simple and easy – and it’s a great way to liven up any tired looking spaces around your home.
Recommended Tools:
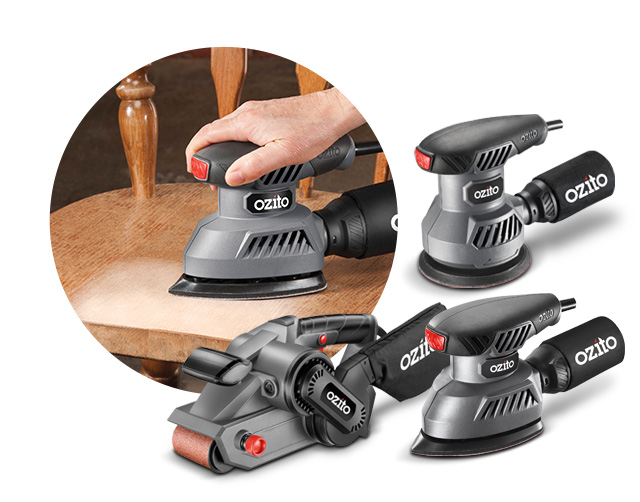
- 3 Piece Ultimate Sanding Kit
- 400W Power Paint Spray Gun
Step 1: Address your chair’s needs
Most wood is treated with a varnish of some sort to coat or protect it against wear. To ensure a quality finish it’s best to remove as much of the original varnish as possible. If there’s no flaky varnish or paint on your furniture, you may just need a light sand to prepare it for recoating.
Step 2: Sanding preparation
Different sanders are suited to different surface types. Belt sanders remove lots of materials from large, flat surfaces. Detail sanders are great for getting into small, detailed corners and hard to reach places. To achieve a fine finish, use a Random Orbital sander. Combine any of these sanders with various grits working your way from lower number rough grits to a higher, finer grit for a silky smooth finish and do this until all signs of varnish are removed.


Step 3: Coat in stain
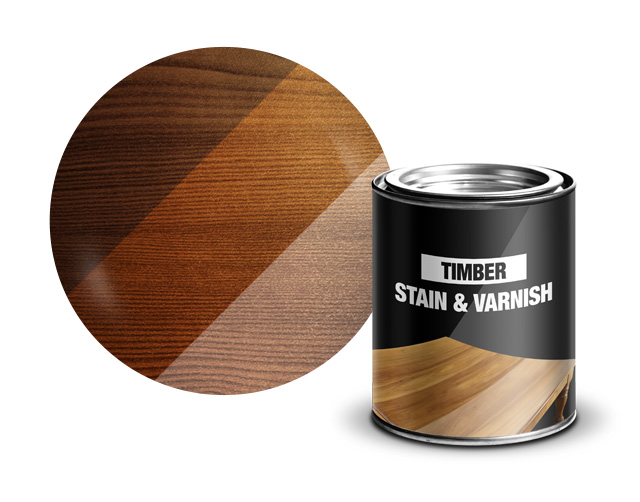
With the chair prepped, give it one coat all over of your choice of stain. This will add a nice contrast between the timber and the paint after the paint is applied. Check with your local Bunnings paint department for their selection of stain colours.
Step 4: Tape it up
After the stain has dried, it’s time to tape up. Select where on the legs and back of the chair you’d like the paint to be. With painters tape mask off these lines ensuring the tape lines are perfectly straight along the chair back and legs.
Step 5: Paint it
Once the tape is securely in place, grab an Ozito Paint Spray Gun as it is perfect for small to medium sized projects, like spraying furniture and load it with your choice of colour. Carefully spray the back and legs and leave to dry. Once dry, add a second coat of colour and move onto step 6.
Step 6: Peel off the tape
With the paint still wet from the second coat, carefully peel the tape away. It’s important not to let the paint dry, as once it dries over the tape, there is a high chance that the paint will chip as the tape is removed.
Step 7: Finish it
With the tape peeled off and the paint dry, finish the chair with a light spray of clear polyurethane or varnish to protect it.

Et voila! There you have it – a simple, straightforward restoration project to tackle this Easter weekend.
Whatever DIY job you need to tackle this Easter weekend, Team Up with Ozito!
